1 6 8
T H E B U I L D I N G C O N S E R VAT I O N D I R E C T O R Y 2 0 1 4
T W E N T Y F I R S T E D I T I O N
INTERIORS
5
REPAIRING LIME PLASTER
CEILINGS
SEAN WHEATLEY
T
HE EARLIEST
plaster ceilings found
in Britain date back to the Tudor
period and are of lime plaster. At
this time most ceilings simply consisted of
the underside of the floor boards, and any
decoration would have been confined to
the carving of the timbers and elaborate
paintwork. For royalty and the nobility, the
installation of ornate patterned ceilings
became a new means of expressing wealth
and status, so these early examples tend
to be covered in rich decoration. It was
not until the Georgian period that plaster
ceilings became the norm, and plain
plasterwork began to appear in even
relatively modest rooms.
Lime plaster is essentially a wet mixture
of slaked lime (calcium hydroxide) and fine
aggregate. Once dry the plaster begins to
slowly harden through the chemical reaction
between lime and carbon dioxide in the air
known as ‘carbonation’. The result is a tight
matrix of aggregate and calcite crystals
(calcium carbonate). As each coat could
take several weeks to set adequately, plaster
of Paris (gypsum) was sometimes added to
the mix. This practice, known as ‘gauging’,
was introduced into England in the reign of
Henry VIII. It resulted in a much faster set
because the gypsum sets by crystallisation
on the addition of water. It enabled more
effective use of moulds for fine decoration,
resulting in crisper modelling. However, it
was far more expensive than lime because the
limestone from which slaked lime is made
is widespread, while gypsum deposits are
relatively rare. It was therefore reserved for
the more prestigious work, and most early
plasterwork encountered today is likely
to be of lime plaster, unless associated with
fine decoration.
COMMON CONSTRUCTION METHODS
The methods and materials used in the
construction of flat plaster ceilings hardly
changed from the Tudor period until after
World War I. Wooden laths of riven (hand-
split) hardwood – oak or chestnut – were
used in the best quality work. Softwoods
such as fir provided a cheaper alternative in
later years, and sawn lath began to replace
riven lath in the early 19th century.
Laths were nailed to the underside of the
ceiling joists leaving a gap of about 10mm
(⅜") between each lath, and the joints were
typically staggered in bays of a little over one
metre (3' 6") to prevent long cracks appearing
as the plaster dried out. Long coarse water
reeds (like those used by thatchers) were
sometimes used instead of wooden lath,
particularly in areas where the reeds could
be grown locally. These were clamped to
the underside of the joists to a depth of
approximately 12mm (½") using laths.
A ‘pricking-up’ coat of lime putty and
sand or earth mortars was applied and
pushed through the lath to form nibs or keys.
This coat was typically 5–15mm (¼"–⅝")
thick. The nibs act as a mechanical key which
helps the mortar to adhere to the lath. If
reeds were in use then the first coat of mortar
would have been applied directly to the reed
but not necessarily pushed through the full
thickness.
For restoration and repair work, lime
putty should be a minimum of three months
old. Historically many different types of sand
would have been used – a blend of fine and
sharp sand or whatever was available locally.
Currently a good quality well-graded sharp
washed pit sand is used for fine work. The
standard mix is one part lime putty to 2.5
parts sand with the addition of cow, horse
or goat hair (2–4kg (4½–9lbs) of hair per
cubic metre of mortar). This is scratched
after application using a three-pronged
lath scratcher.
The plaster then starts to dry and initial
carbonation begins. The timing of subsequent
coats depends on temperature and humidity.
Generally one month is an average drying
time for the first coat. If the first coat has
become very dry the surface should be
dampened prior to the application of the
second coat.
The second (‘floating’ or ‘straightening’)
coat uses one part lime putty to three parts
sand to a thickness of 10–15mm (⅜"-⅝"). Hair
would also have been added but at a lesser
quantity than for the first coat. The second
coat is ruled flat and scoured using a wooden
float to consolidate the surface. A devil float
(a wooden float with nail points projecting
about 2mm from each corner) is then passed
over the surface to give a key for the finish
coat. This surface also needs to be dampened
to control suction before the application of
the finish coat.
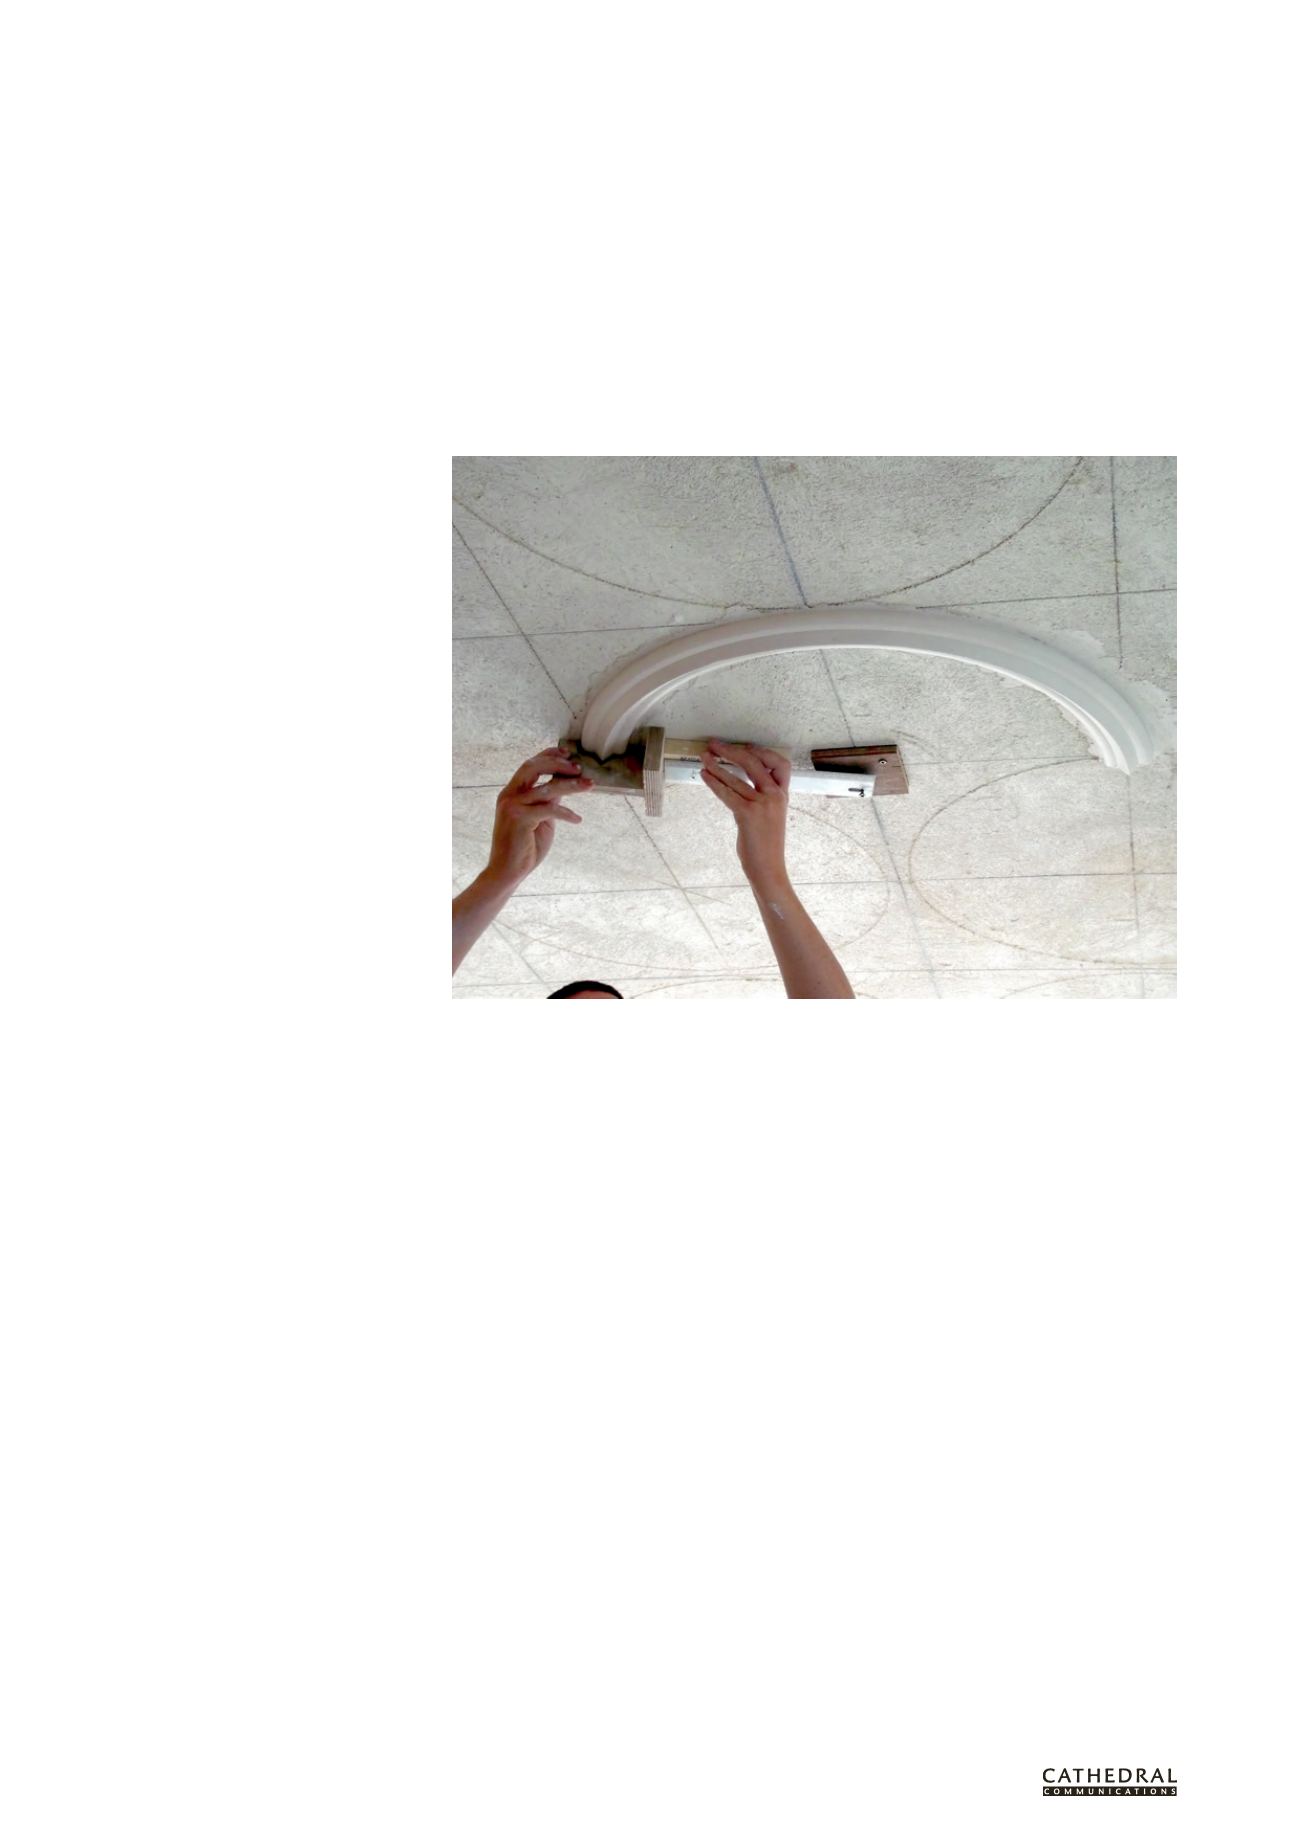
The decorative aspects of the ceiling were
then applied. The design may have been a
geometric pattern in which case the desired
pattern would have been scratched on to
the ceiling. In the earliest plaster ceilings
the ribs or mouldings would have been run
in situ using fine lime and sand. After the
development of fibrous plasterwork in the
late 18th century, the ribs or mouldings could
Running a rib in situ (All photos: Sean Wheatley)


