7 6
T H E B U I L D I N G C O N S E R VAT I O N D I R E C T O R Y 2 0 1 4
T W E N T Y F I R S T E D I T I O N
3.1
STRUCTURE & FABRIC :
ROOFING
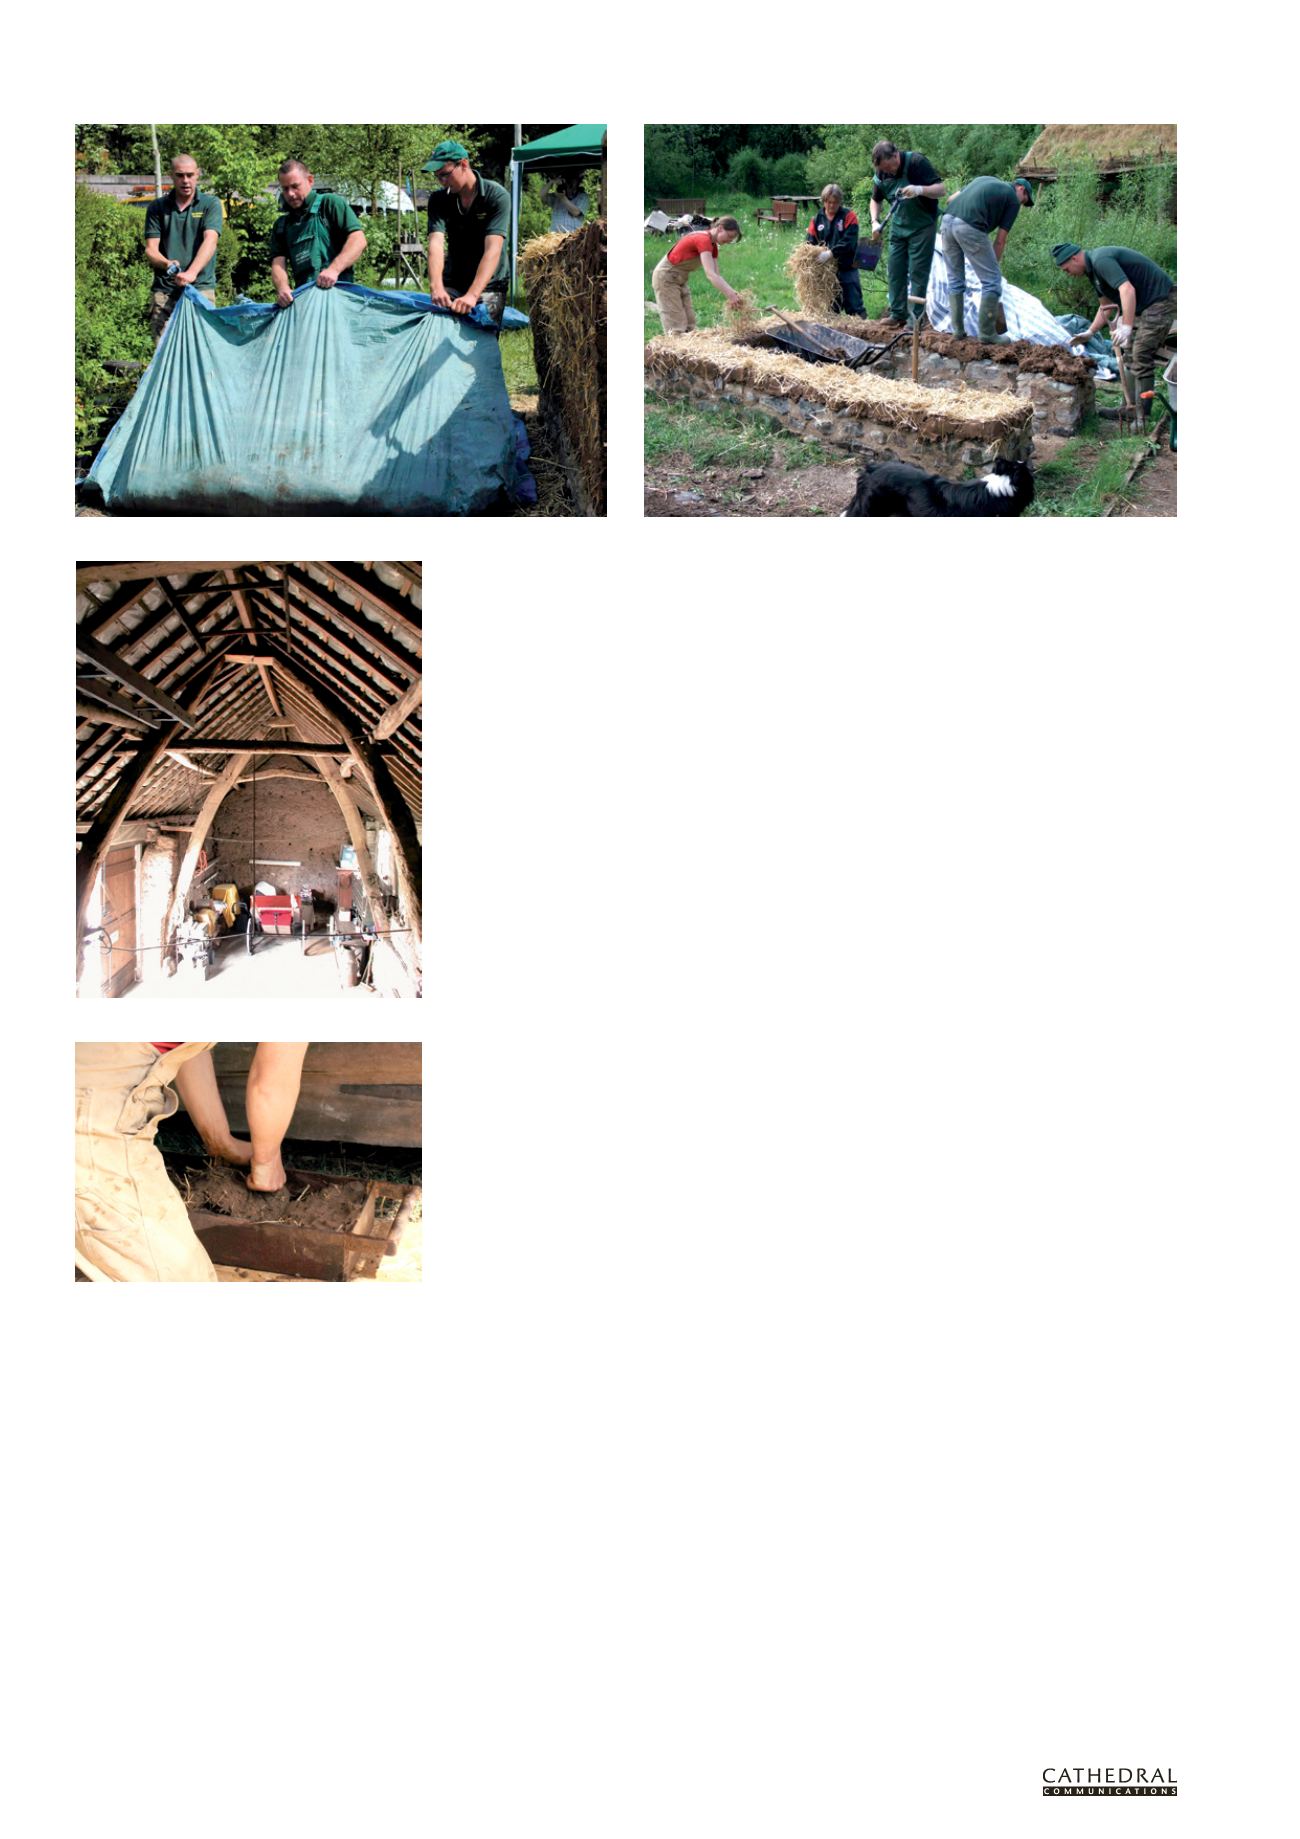
Treading in the clay, levelling the sides and laying the straw course
main ingredient is straw. Both wheat and
barley straw were used and approximately 25kg
is used per cubic metre of subsoil. Water must
be added to the mix to allow the clay to break
down and coat the aggregate and straw. This
is done by treading the mixture and breaking
up all of the subsoil until there is no dry
material left. The amount of water is critical
because too much will make the mixture
very sloppy and impossible to apply. Once
mixed, it must be turned and trodden again
(top left). The process may have to be repeated
several times to get the right consistency,
which can be an arduous task. Mechanical
means (a JCB or a tractor with a bucket to
turn the mix) can speed up production.
Part of the training involved making clay
blocks (left) which would be used in the repair
of clay dabbins as well as their construction.
The same dabbin mixture is used to make the
blocks using a timber or metal mould made
up to an appropriate and convenient size for
the task. The blocks need to be laid out to dry
under cover and turned after three weeks.
The longer they are left to dry the better.
The process of building the clay wall is
straightforward but needs skill and judgement
in laying the material, treading it down firmly
but without squeezing it off the wall, and
protecting the edges and corners to ensure
that they remain vertical and solid. Beating
the sides can maintain a vertical wall and
where there are any bulges these can usually be
trimmed off at the end of the day (above right).
The process continues until the required
eaves height is reached and the gables can then
be constructed. In this trial the upper half of
the building and the gables were completed in
clay block with the purlins and ridge built into
the clay wall (facing page, top). The walls were
plastered with an earth render and a thatched
roof was added consisting of turf laid as an
undercoat onto pole rafters and heather thatch
laid on top.
REPAIRS
Deterioration can be caused by damp, water
penetration, cement renders and defective
rainwater goods as mentioned above. Other
common defects include cracks which
extend through the clay wall, and hollows
and cavities such as rat runs. Sections of clay
Cruck barn at Drumburgh, Cumbria
As a result of the survey, English Heritage
was aware of the situation and eventually
agreed to fund a programme – the Clay
Dabbins Project – to train contractors in
clay building techniques and also to engage
with clay dabbin owners to make them aware
of the importance of their buildings and to
reverse the widely held impression that these
buildings were damp, dangerous and not worth
retaining. This view had been generated by
many builders who, when faced with questions
about how to repair a clay wall or get rid of
its damp problems which they were unable to
answer, suggested that nothing could be done
and that the buildings should be demolished
and replaced with breeze block. The damp
problems, needless to say, were usually
created by previous builders who had applied
cement render to ‘solve’ a damp problem.
The partners in the Clay Dabbins Project,
which was initiated in 2009, were English
Heritage, the North of England Civic Trust,
Grampus Heritage and Training Ltd, and
Carlisle City Council. The main aim was to
give training to builders to enable them to
tackle clay dabbin construction and repair.
Further funding was obtained the following
year from the Heritage Skills Initiative
which enabled the project to expand to
include professionals and the general public.
A programme was devised to train builders
on a course that was centred on constructing
a small bothy (a simple, one-room structure)
using the clay dabbin tradition. This would
encompass all of the essentials for dealing with
clay dabbins of any size or scale. It would also
see the construction of the first clay dabbin for
more than a century.
The training was provided by Becky
Little and Alison Davie from Fife, whose
firm, Little and Davie Construction, has
had a great deal of involvement in the
repair and restoration of earth buildings,
including one on the Solway Plain.
The traditional communal process of clay
dabbin construction was to mix clay or mud
and straw with the addition of water to bind
the two. The straw is pressed into the wet clay
by treading it (cattle were sometimes used to
do this). Once thoroughly mixed, this material
can be carried to the previously prepared
plinth and it is then laid in thin layers, each
separated by a thin layer of straw. The straw
helps the drying process and allows the next
layer to be started immediately, without having
to wait for any drying out. This is in contrast
to other regions where the lifts (layers) are up
to three feet deep and need up to a week before
the wall is dry enough for a builder to stand on
top and lay the next lift.
The clay used was whatever was
available locally and it can vary enormously
in composition (from having considerable
proportions of aggregate in the clay to almost
all silt). A serviceable mixture today could
contain (by weight) 30 per cent stone/gravel
(5–40mm), 30 per cent coarse and fine sand,
15 per cent silt and 25 per cent clay. The other
Turning the mix (Photo: Heritage Skills Initiative)
When making clay blocks the mixture must be well
compressed into the mould


